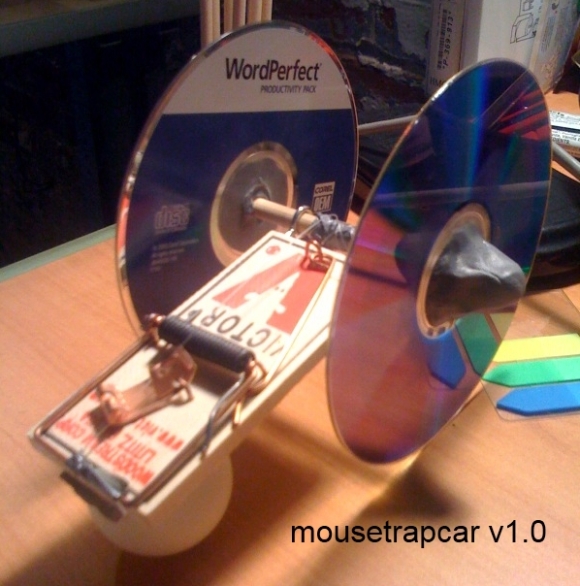
After a weekend away from Eyebeam, I came back to revise my mousetrap powered car to make it faster, easier to assemble, and easier to pack for transport. I wasn’t satisfied with the complete failure of the first minimalist mousetrapcar v1.0:
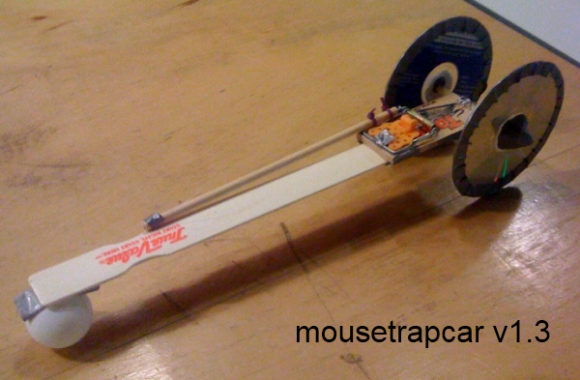
so I hypothesized that if the base was just longer and sturdier, the force of the mousetrap would actually make the car move and not flip over. I also wasn’t happy with using the 1/4″ wooden dowels to extend the mousetrap arm, since I’m trying to minimize cost and therefore material usage. So I un-duct taped the mousetrap from the paint stick mousetrapcar v1.2, and re-duct taped it right up against the back of the paint stick. Then I cut the fishing line from the end of the arm-extender stick and tied it directly to the mousetrap arm, and secured it with some duct tape. Mousetrapcar v1.3 took off so fast across the table that I couldn’t even catch it before it ran into the wall!
An added advantage to this configuration is that I can screw the eye-bolts directly into the wooden mousetrap again since it’s thicker than the paint stick. That eliminates duct tape and/or hot glue that are weaker and more likely to break in transit.
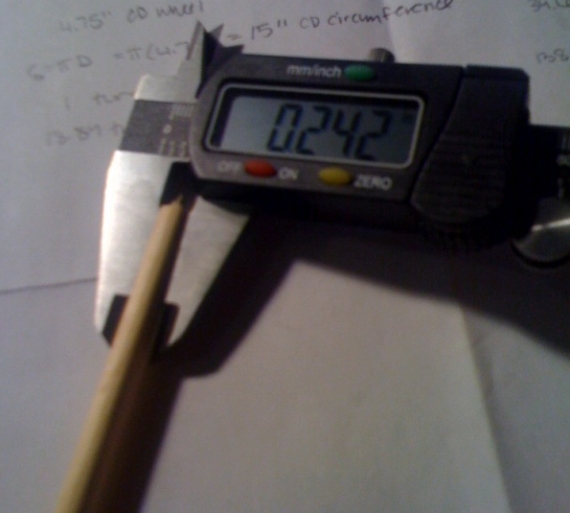
The next trick is to make an easier to assemble version of the wheel with no plumber’s putty. I plan to laser cut some hubs out of scrap acrylic at Eyebeam today, so I measured the 1/4″ wooden dowels to get the inner diameter of the hub:
I know from experience that 1/4″ is never 0.250000″, and in this case the eight dowels I have range from 0.242-0.257″. I want the hub to fit tightly, so I’ll make the inner diameter 0.240″ to fit the smallest dowel and can always sand the shaft a little for the larger ones. Then I measured the inside diameter of the CD with my caliper, and they come in at about 0.591″. I drew these circles up quickly in Inkscape, saved them as .eps files, and opened them up in CorelDraw on the computer here at Eyebeam to send to the laser cutter. Then I found some scrap acrylic (I think), and cut out a couple test pieces with some help from Yael – thanks! After a couple tries to get the right setting to cut all the way through the material, I cut out 2 hubs. The fit on the wooden dowels turned out pretty tight, but the fit between my laser cut donut and the CD was pretty loose. Oh well, nothing a little hot glue and duct tape can’t solve.
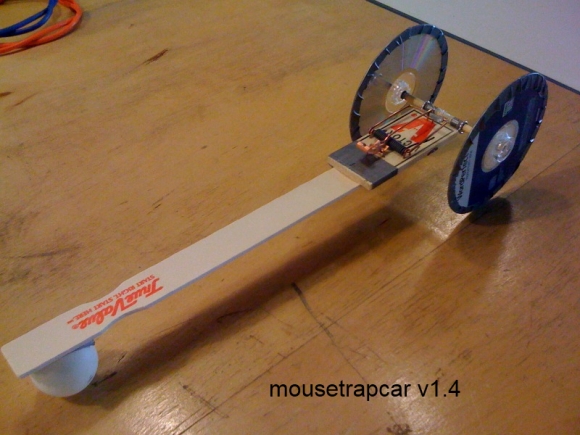
So on my next try, I changed the dimensions to 0.242″ and 0.596″. Of course now the insides of the acrylic hubs are too loose on the smallest wooden dowel, and I need to use some duct tape. The 0.596″ outside diameter still slips though, so the hubs will be hot glued to the CDs. Here’s a picture of the final version with the fancy laser cut hubs:
Ta da! Done. Well, almost. I tested v1.4 on wooden desks, carpeted floor, a steel catwalk, and the concrete floor here. So far I’m 4 for 4. These will make up half the kits for the event this Sunday – the other half will have fully laser cut wheels at a slightly different diameter than the CDs to make things interesting. Now to cut the dowels and put all these into kits…


how far did it go?
how can i get the tools
idon’t no buy the tools
how can i make a super super fast one that wont break?? im racing it so i need help please email me